Record Your Screen in the Browser, Then Convert It to PowerPoint
Capture a tab, window, or full screen with audio in SyncSlide, then send the recording through the same video-to-PowerPoint workflow.

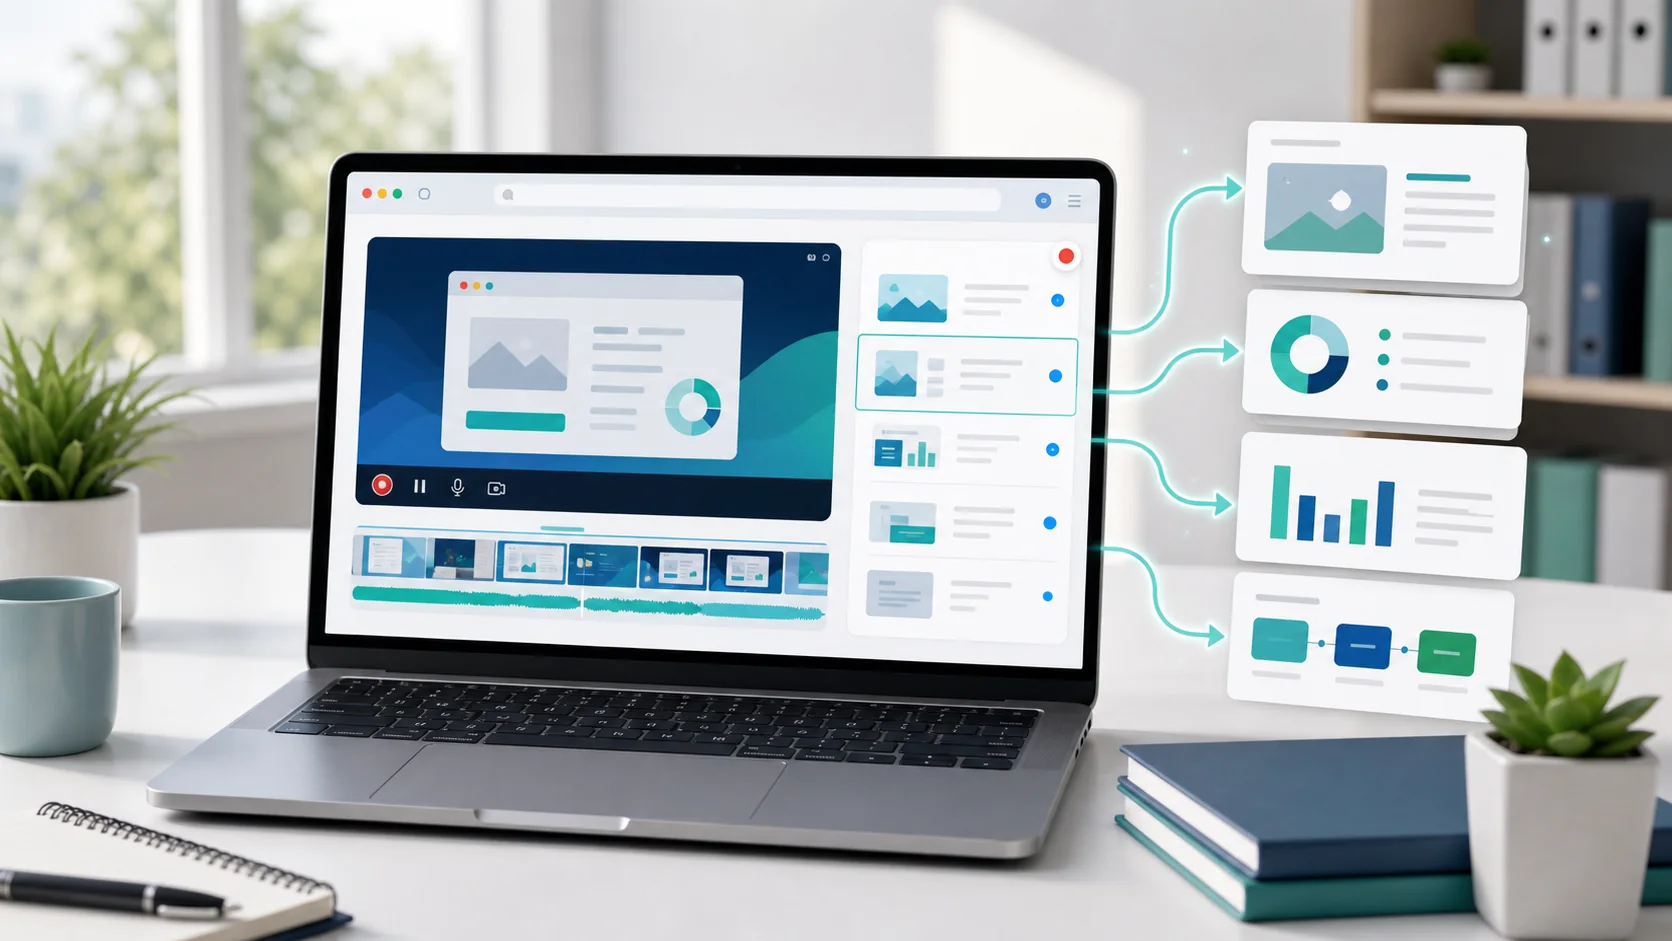
Screen recording often involves capturing in one application, saving a local file, and then uploading it somewhere else for processing.
SyncSlide now includes in-browser screen recording in the upload flow.
Without installing a recorder or browser plugin, you can capture your screen from the SyncSlide dashboard and send the result directly into the video-to-PowerPoint workflow.
Why We Built This
Uploading an existing MP4 or MOV recording remains useful, but it adds an extra handoff when you want to capture a new walkthrough or tutorial.
What if you're not in a recorded Zoom meeting? What if you're walking through a software demo, narrating a tutorial, or analyzing a financial model on your own? Previously, you'd have to open QuickTime, Loom, or OBS, record the session, save it locally, find the file, and then upload it to SyncSlide.
The browser recorder removes that extra save-and-select step.
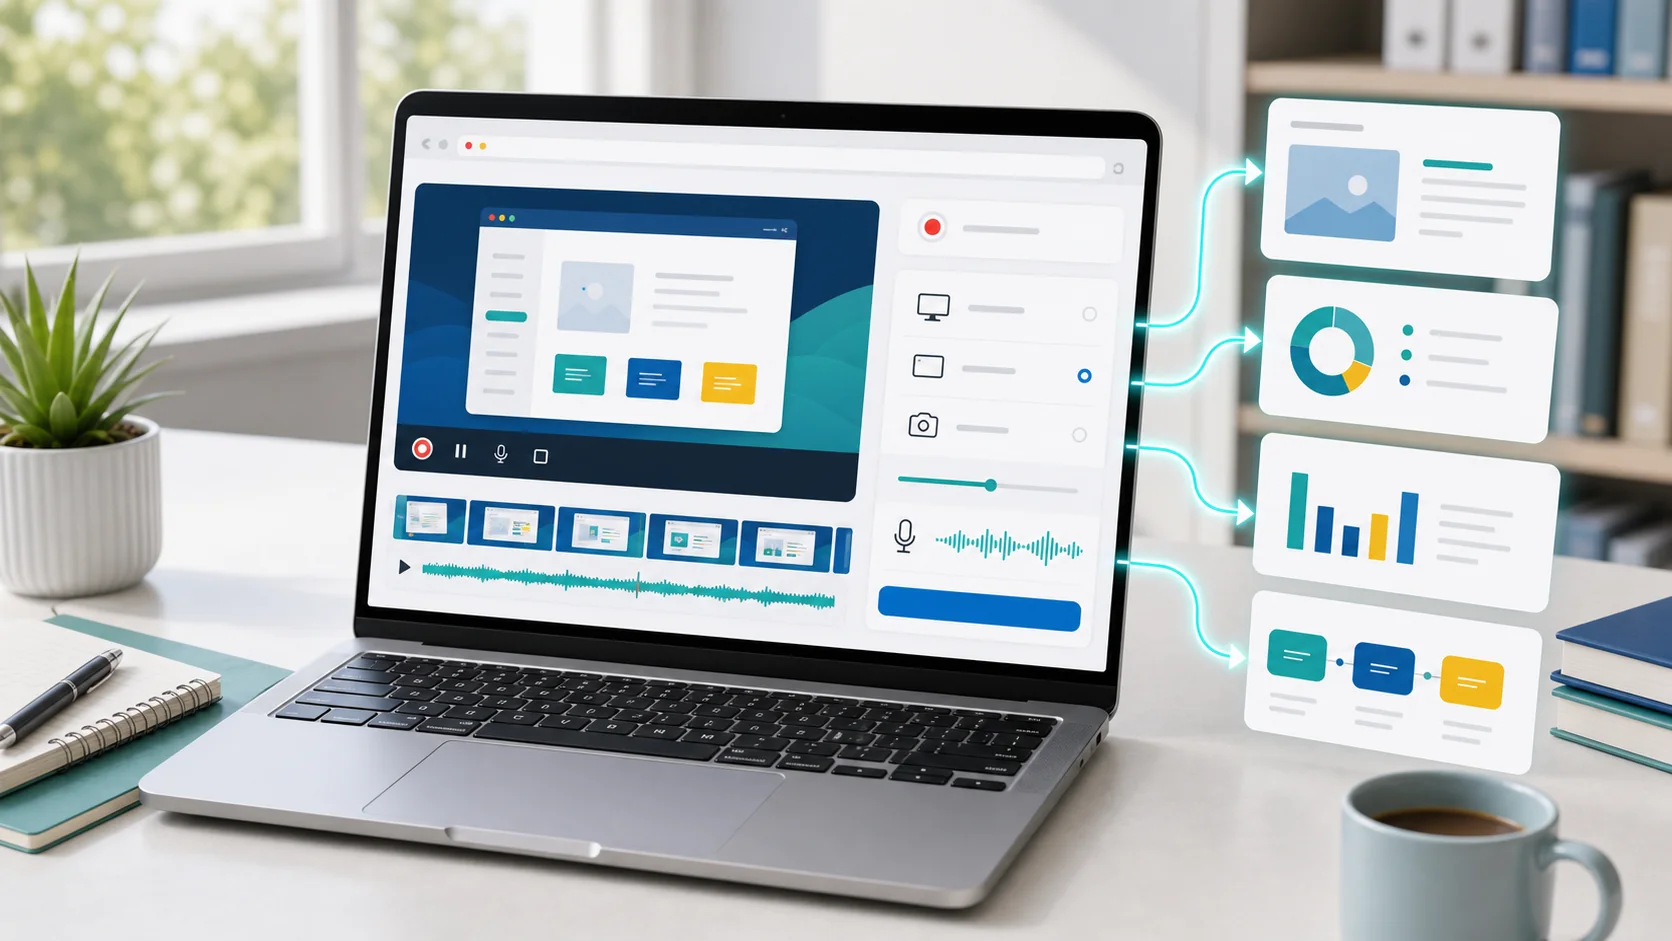
What the Browser Recorder Does
The recorder uses the browser's built-in sharing controls, so the browser asks exactly which tab, window, or screen you want to capture.
1. Browser-Based Capture
Click the "Record Screen" button on the upload page, then choose a window, tab, or entire screen in the browser permission dialog. No separate recorder or browser plugin is required. Availability depends on browser support and the permissions you grant.
2. Recording Controls and Status
The recording interface shows the selected source, audio activity, and elapsed time while the capture is running.
3. No Extra Local File Step
Recording data is assembled in the browser. When you stop, SyncSlide prepares the WebM recording for upload instead of making you save a file and select it again.
4. A Clear Handoff to Upload
Keep the recording tab open until you stop the capture and the upload begins. The interface shows when the recording is being prepared.
How to Try It Today
To record from the upload flow:
- Log in to your SyncSlide dashboard.
- Click on Upload Videos.
- Choose the new "Record Screen" option instead of selecting a file.
- Select what to share (a specific Chrome tab works great for slide presentations!)
- Hit Stop when you're done.
When you stop, SyncSlide prepares the WebM recording for upload. In the main upload flow, scene detection and transcription start enabled; OCR and transcript cleaning start disabled and run only if you turn them on. Review those selections and the credit estimate before starting processing.
Working with Browser Recordings
Browser recordings are prepared as .webm files. As with any recording, review the detected duration and generated slides before relying on the output.
If the browser cannot provide a usable recording, the upload screen reports the problem so you can try again or choose an existing file.
A Direct Capture-to-Deck Workflow
Whether you are recording a lesson, practicing a pitch, or documenting a product workflow, the browser recorder lets you capture and submit that recording from the same upload page.
See how the video-to-PowerPoint converter turns recordings into slide decks with speaker notes.

![How to Convert Zoom Recordings to PowerPoint [2026 Guide]](/images/blog/dashboard-mockup.webp)